
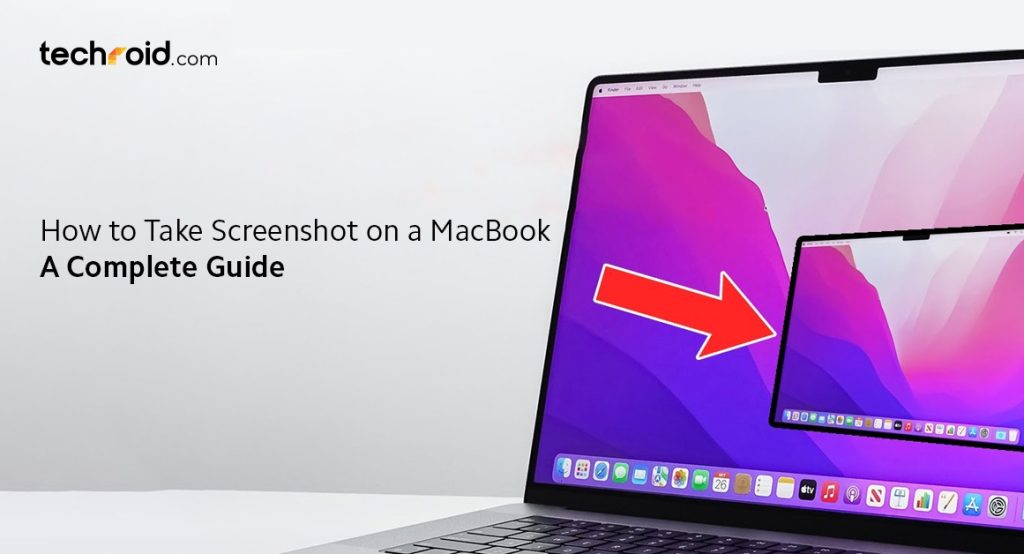
How to Take Screenshot In MacBook – A Complete Guide
Taking screenshots is one of the most commonly asked questions by Mac users, despite the evolution of Apple’s products over the years. The user still searches for quick and efficient ways to capture their screens. It is a fundamental task that remains stagnant over time. It doesn’t matter which model of Apple MacBooks you use, whether it’s MacBook Air or a classic one; there are simple ways to capture your screen. The quick keyboard shortcuts and built-in screen tools allow the user to take a screenshot effortlessly. The specialised methods are also helpful for the older MacBook versions. In this simple guide, we will explore the practical yet straightforward techniques to capture screenshots.
Capture the Entire Screen
Capturing a full-screen shot is quite simple and quick on an Apple MacBook. All you need to do is press Shift + Command + 3 and release the holding keys. You will see an instant image of everything on your screen, captured well. A pop-up will also appear in the bottom right corner. Options for edit, crop, save, and share will appear when you click the preview of the screen at the bottom. The screenshot will automatically get saved as a PNG file on your desktop in case you don’t respond to the pop-up. In this way, it is ready to access at any time you need. This is the most convenient method to capture a screenshot.
Capture a small part of the Screen
Screen capturing has various types, and one such is capturing a portion of the screen. Press Shift + Command + 4, and it will turn your cursor into a crosshair symbol. After it, you can drag it to capture a screenshot. Release the mouse or trackpad button, and it will capture a screenshot.
When you press the spacebar, it activates a crosshair, and a camera icon will appear. You can take a neat snap of the screen that opens with a white border and a drop shadow. However, to move the position of the selected area, hold the spacebar and drag. The dragging will choose the entire selection without changing the size of the selected area.
Capture Window and Menu on MacBook
Open the window or menu you want a screenshot of and capture the screen. After it, press Shift+Command+4 and then Spacebar. It will change your cursor into the camera icon. This is a signal that you are ready to capture the window or menu. If a change of mind happens, press Esc (Escape). It will cancel the screenshot taken.
But to make a snapshot, position the camera icon on the window or whatever menu you wish to screenshot and press on it. To take a screenshot in the absence of the shadow, press the Option Key and click. You can eliminate the shadow in the screenshot image on a MacBook in this way.
Can’t find Screenshots Taken?
It happens that sometimes you miss the pop-up notification in the bottom right corner, and you cannot find the screenshots taken in haste. Since, by default, the screenshots are saved to the desktop of the MacBook. The file names are like “Screen Shot [date] at [time].png”. With that, you can change the location of the saved document from the pop-up. Drag the popped image to the desired file folder. However, many users are curious about the MacBook price in Pakistan; however, at Techroid, you can get it at competitive rates.
In case the screenshots are not visible on the MacBook desktop, you can try opening a Finder Window and selecting Go>Desktop from the menu bar. Or you can also click the Desktop in the sidebar to locate your files if they are not visible on the MacBook desktop.
Final Words
Screenshot on a MacBook looks like a simple task, yet it is essential for ease of communication during work. To capture the entire screen, a selected part, or a window as a whole, there are handy keyboard shortcuts. You can also easily edit, delete, and share the screenshots already saved on the MacBook desktop. In case you don’t find the saved screenshots, find them on the Windows menu bar.
These Apple machinesare trending due to their premium features. Whenever you are ready to upgrade your MacBook, Techroid is the most reliable option to make the purchase. Those who are curious about the MacBook prices in Pakistan should visit our website to get the most accurate and updated information.
We offer genuine Apple MacBook with free delivery nationwide. We also offer the latest PTA-approved iPhones with all the memory variants and colours. Such as you can buy iPhone 16 Pro Max at the lowest price from us and can select your favourite color online while ordering or at the spot by visiting our physical store at Dolmen Mall Lahore. Our team consists of highly trained and professional staff to make your experience memorable with us.